Paul D’Amour opens up on his Tool exit – and his unsung contributions
The current Ministry bassist sets the record straight on his songwriting efforts for classic album Ænima, coaching Justin Chancellor, and what sets his new gear – and new gig – apart


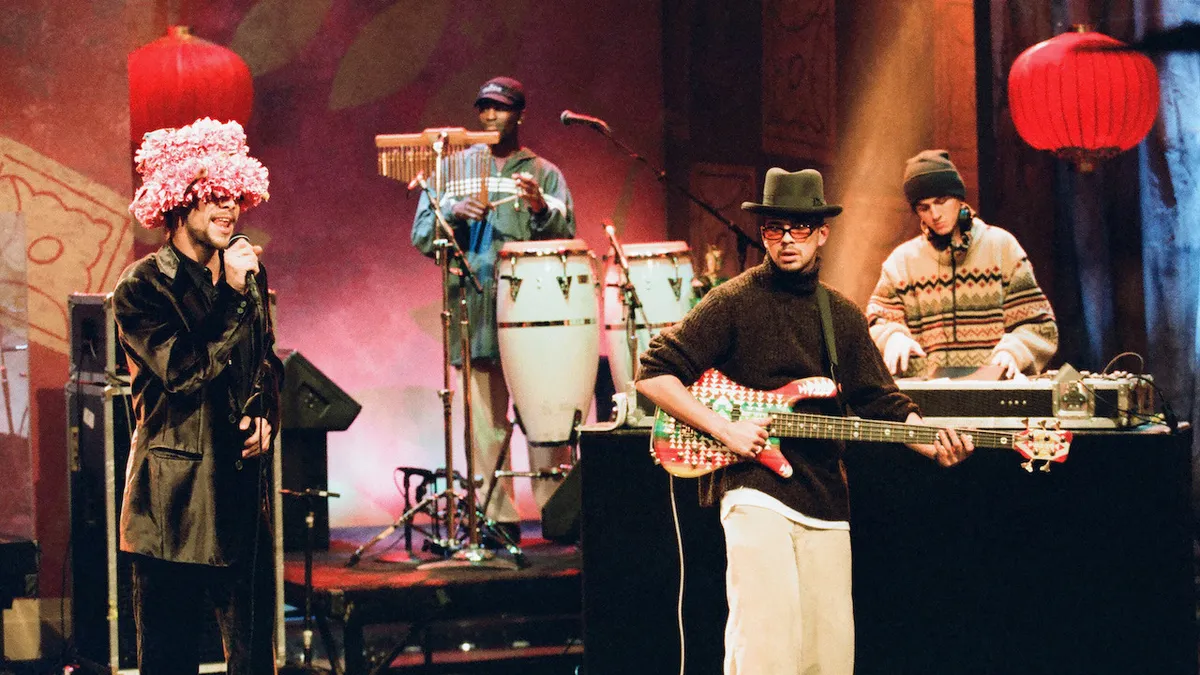


![Tower of Power [L-R: Greg Adams (trumpet), Mic Gillette (trumpet), Stephen Kupka/Doc/The Doctor (sax), Emilio Castillo (sax), David Bartlett (drums), Lenny Picket (sax), Francis Prestia/Rocco (bass), Lenny Williams (vocals), Bruce Conte (guitar), Chester Thompson (keyboards)] performs on Soul Train episode 126, aired 2/1/1975](https://cdn.mos.cms.futurecdn.net/NnjoDxnJtQojDr6A7hH4XJ-1200-80.jpg.webp)