“Most bass players are boring… I’m not because I was a guitarist first”: Lemmy on his switch from guitar to bass By Nick Wells published 11 May 24 The Motörhead frontman switched to bass guitar while working as a roadie for Hawkwind
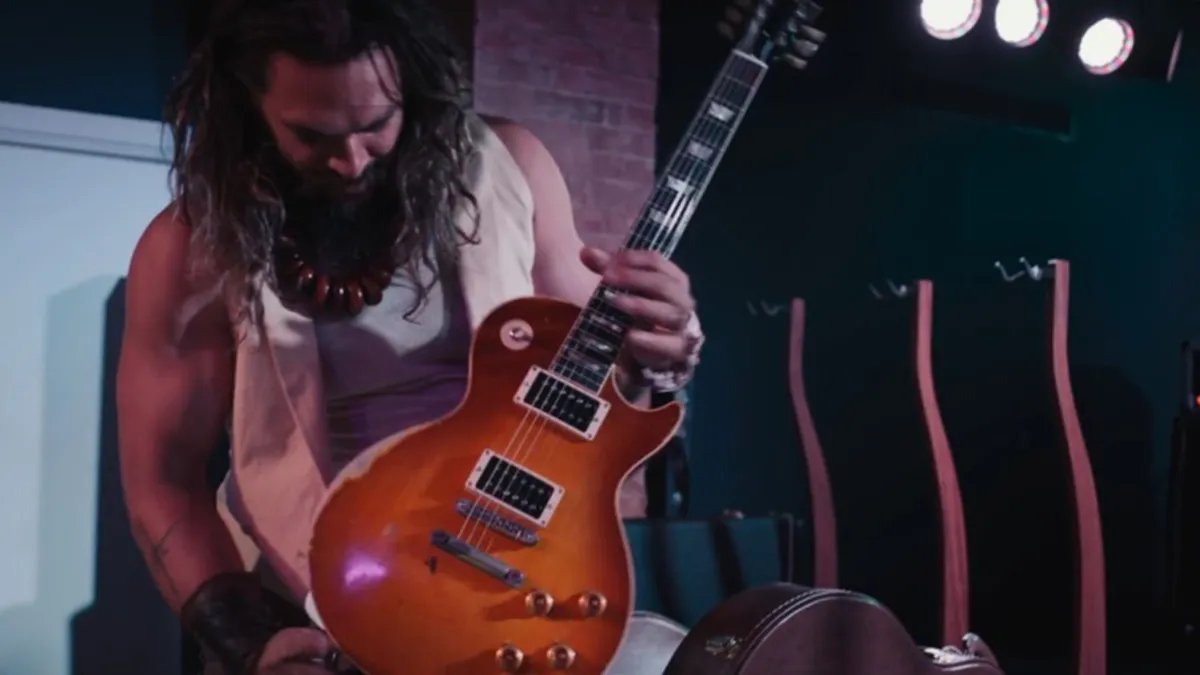
Jason Momoa is auctioning off a host of Gibson and Fender Custom Shop guitars and handmade basses By Matt Parker published 10 May 24 The instruments are all being sold to raise money for a host of charities, having featured in the actor’s On The Roam series
Ginger Pooley reflects on her time with the Smashing Pumpkins – and why she had to give it up By Andrew Daly published 10 May 24 Before she returns to action with Garbage, Ginger Pooley reveals how she went from teenage Pumpkins obsessive to landing the bassist spot alongside Billy Corgan, the challenge of quitting the band she loved, and what she learned along the way
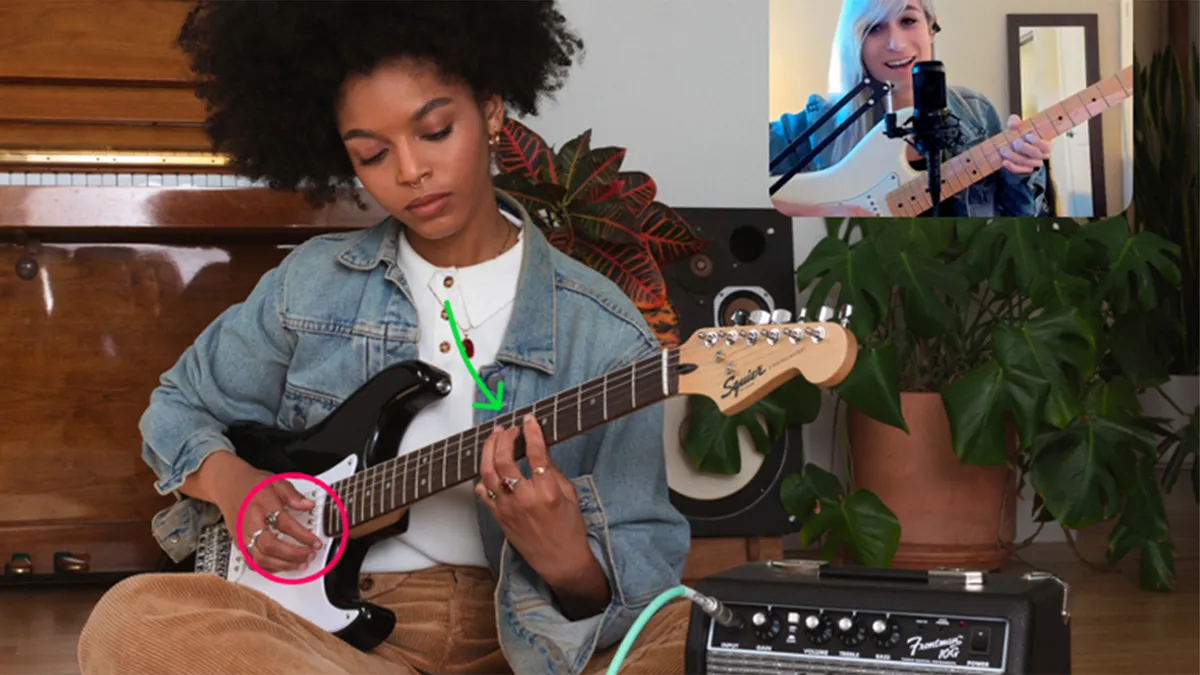
Fender Play 1:1 will offer “personalized one-on-one lessons with top instructors” By Matt Parker published 10 May 24 Fender has teamed up with coaching specialists Blayze to help augment its popular learning app
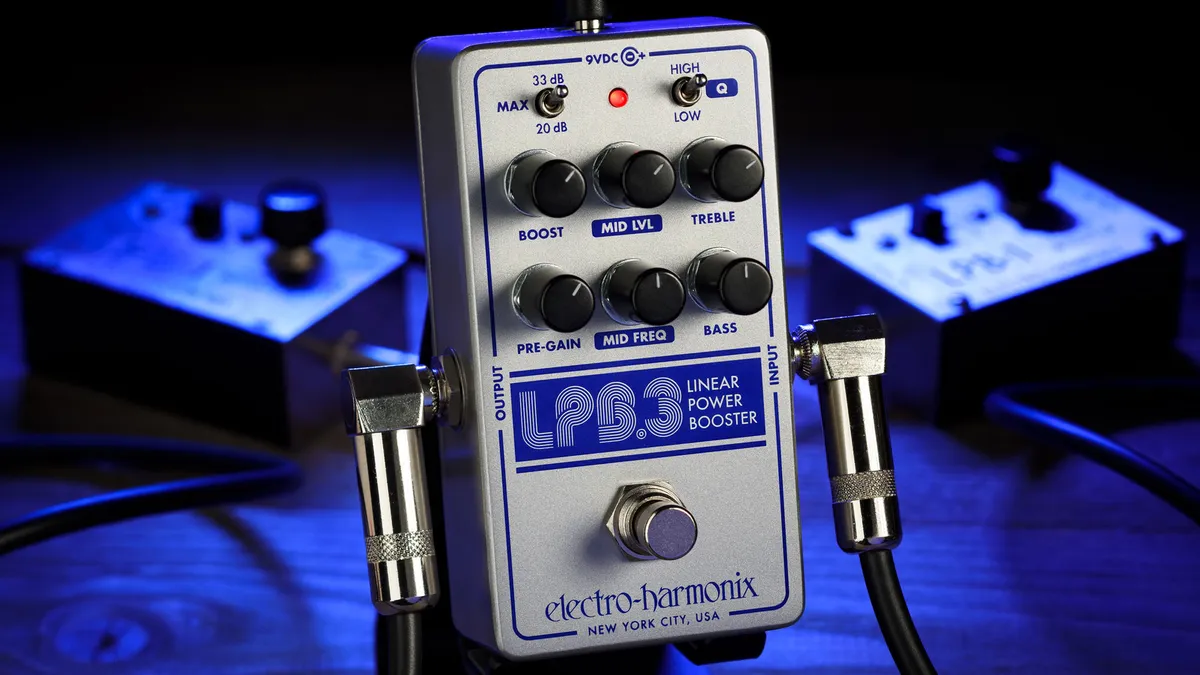
Electro-Harmonix has reimagined the 1968 effect that launched the brand as a tone-shaping powerhouse By Michael Astley-Brown published 10 May 24 The LPB-3 Linear Power Booster is loaded with features, and could radically change your guitar sound for the better
Three of the biggest guitar and bass YouTubers are going on tour to ‘Escape the Internet’ By Janelle Borg published 9 May 24 The aptly titled Escape The Internet Tour sees three YouTube guitar and bass behemoths tour together for the first time
“If I overplayed behind a singer, there’d be a guy waiting for me with a knife!” Marcus Miller looks back on his 2008 solo effort, Marcus By Chris Jisi published 9 May 24 Always in demand, Marcus Miller looks back on his 2008 solo effort, Marcus
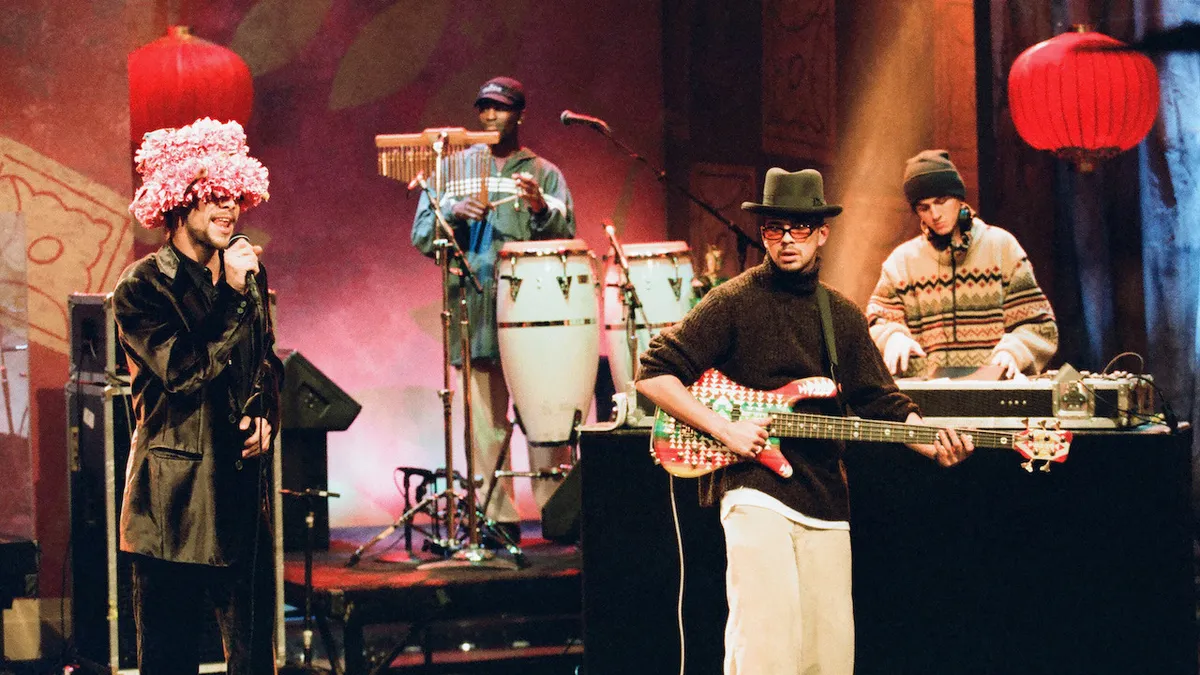
Listen to Stuart Zender’s isolated bassline on Jamiroquai's Virtual Insanity By Chris Jisi published 9 May 24 Stuart Zender made an audacious statement with this killer bassline from Jamiroquai’s Traveling Without Moving
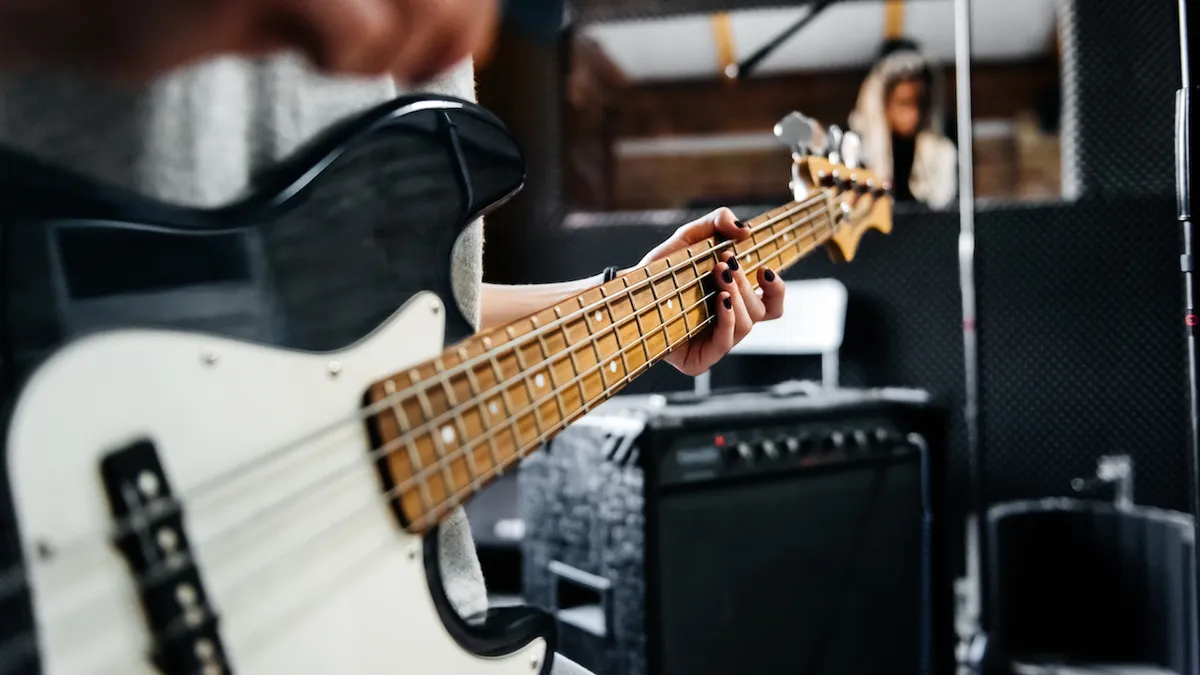
Exercises for bass: 5 ways to improve your bass guitar technique By Nick Wells published 9 May 24 Whether you're a beginner or a pro, these 5 finger exercises will help all areas of your bass playing – from fret work and picking to ear training and theory
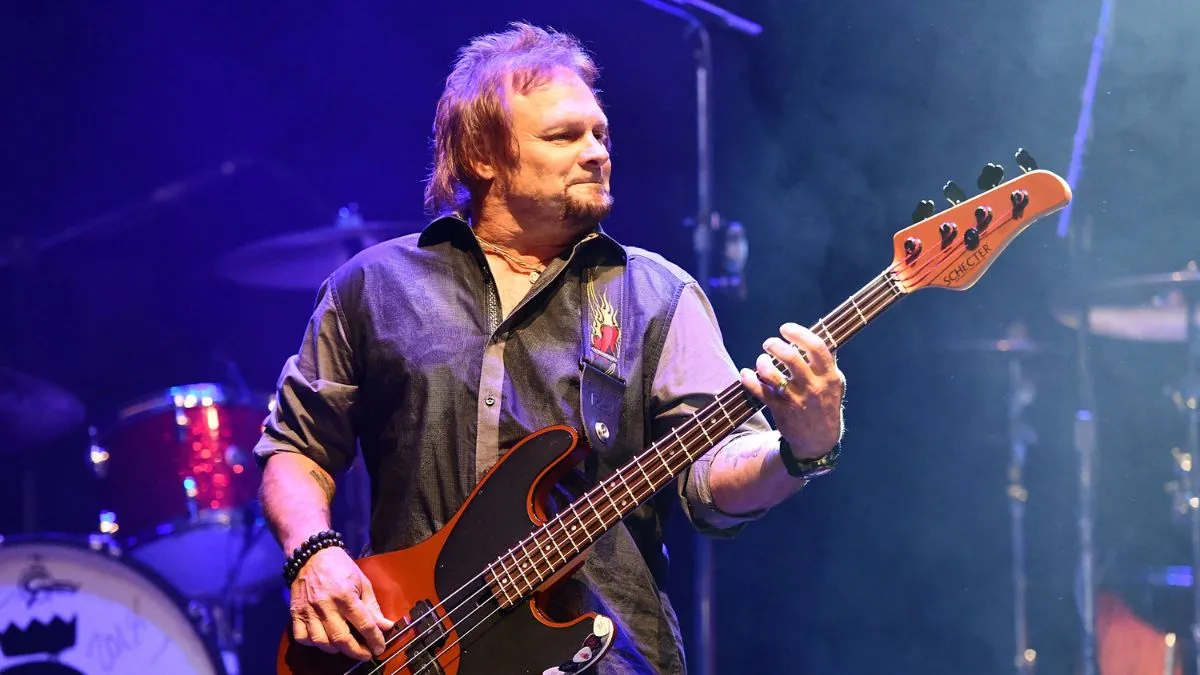
Van Halen bassist Michael Anthony sets the record straight on the much-rumored VH tribute project By Janelle Borg published 8 May 24 According to Michael Anthony, internal disputes have ruined the Van Halen tribute project's potential
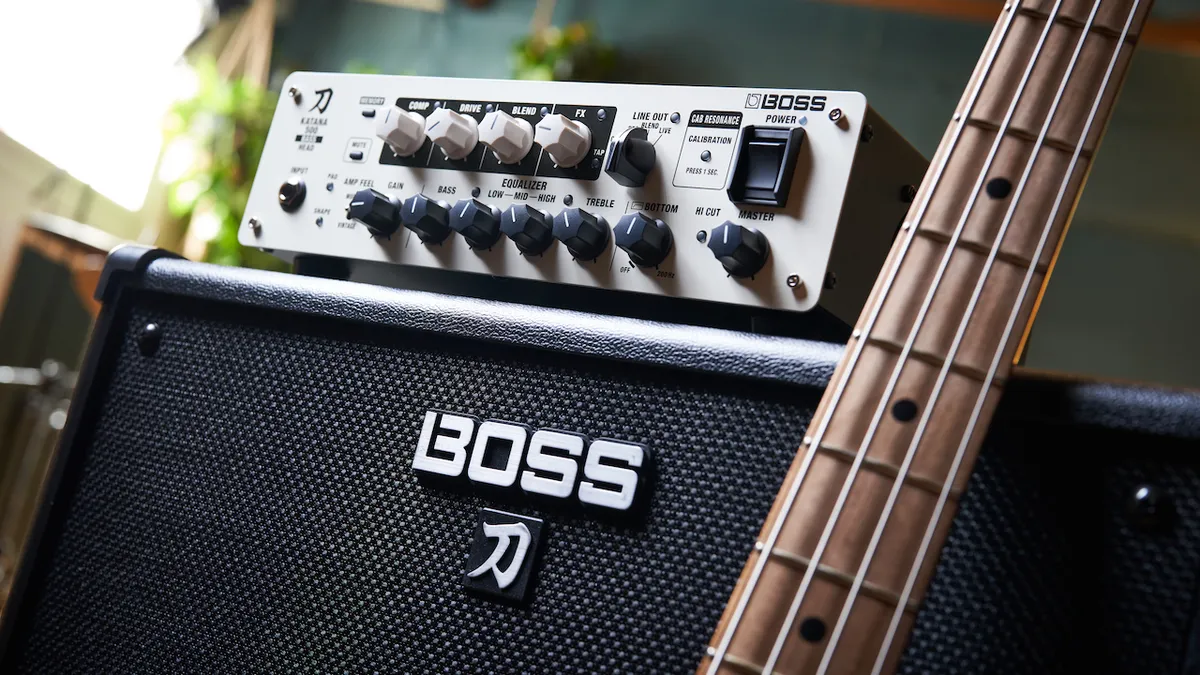
“You’d be hard-pushed to find a bass sound that you couldn’t gig with almost immediately”: Boss Katana-500 Bass Head review By Nick Wells published 7 May 24 This newly developed, feature-packed bass head features an Amp Feel switch and ‘Cabinet Resonance’ calibration technology to get the best from your cab – but is it a game-changer for bassists?
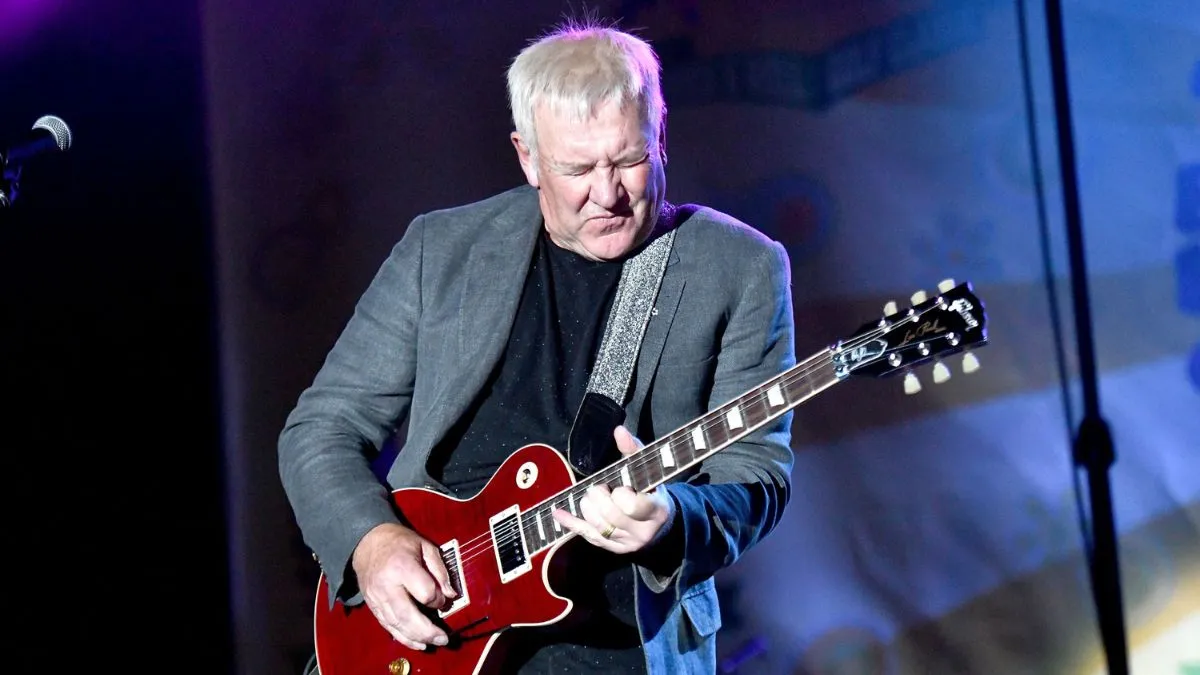
Alex Lifeson says he’s back to jamming with Geddy Lee – but they sound like a “really bad tribute band” By Janelle Borg published 7 May 24 Alex Lifeson sets the record straight on whether Rush will ever tour again
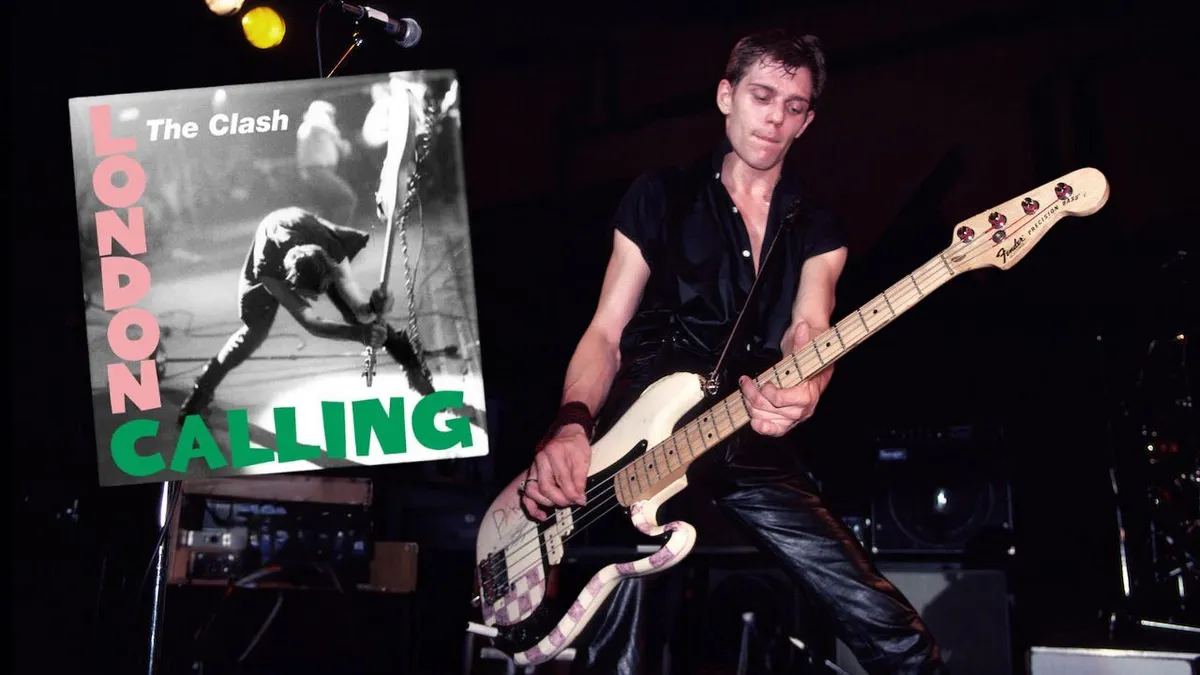
The Clash's Paul Simonon reflects on that iconic London Calling moment By Nick Wells published 7 May 24 Paul Simonon smashed his Fender P-Bass during a concert at New York’s Palladium on September 20th, 1979
The magic of Rocco Prestia’s bassline on Tower of Power’s Only So Much Oil in the Ground By Chris Jisi published 4 May 24 How to play Rocco Prestia’s classic Tower of Power bassline
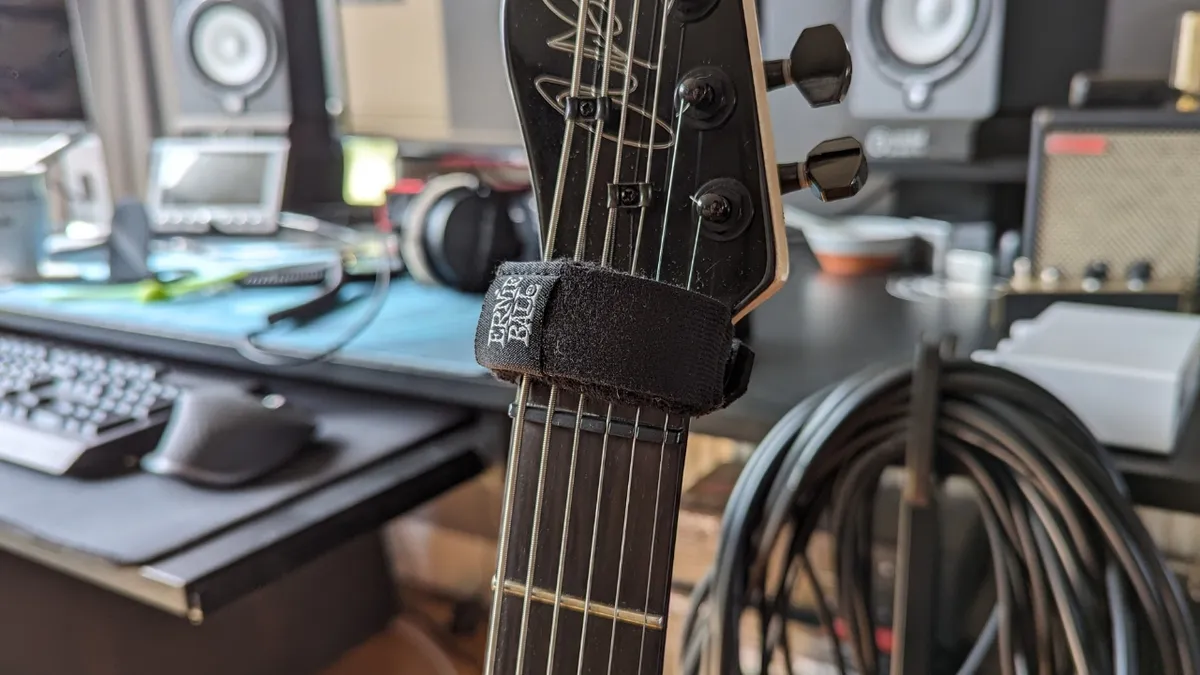
Everything you need to know about fretwraps: what are they and do you need one? By Matt McCracken published 3 May 24 Get the low down on this simple yet essential tool for guitarists
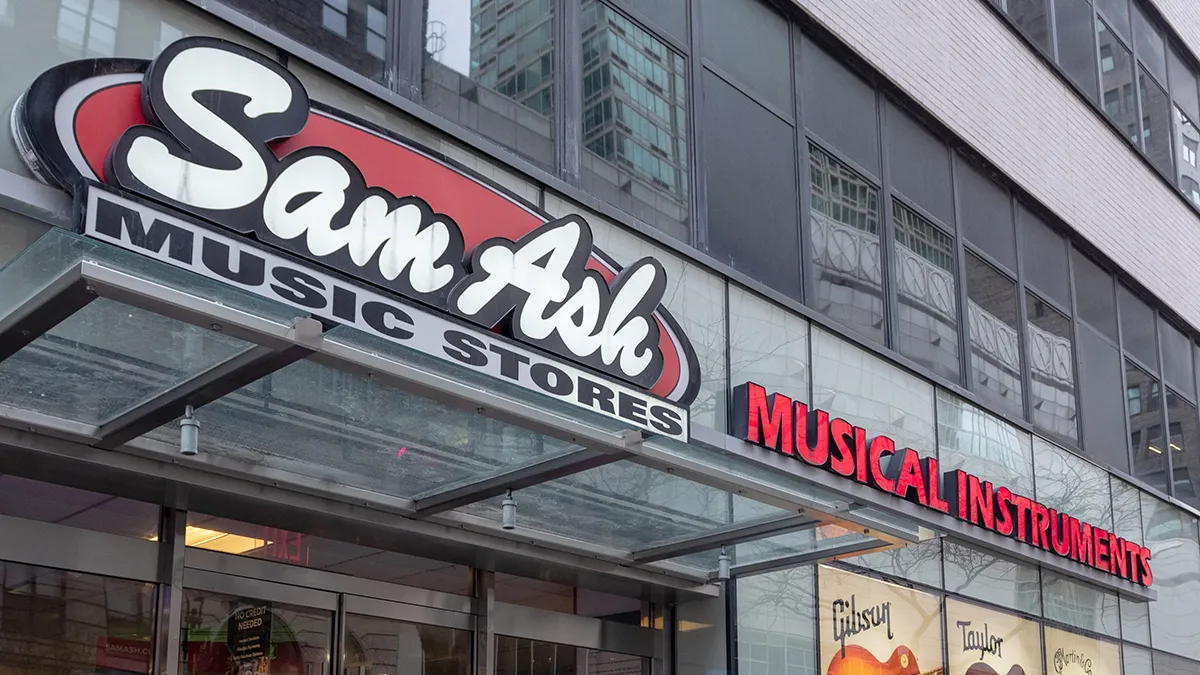
Sam Ash announces it will be officially closing all its stores By Phil Weller published 3 May 24 The family-run music equipment chain has been forced to close its stores, with a closing-down sale currently ongoing
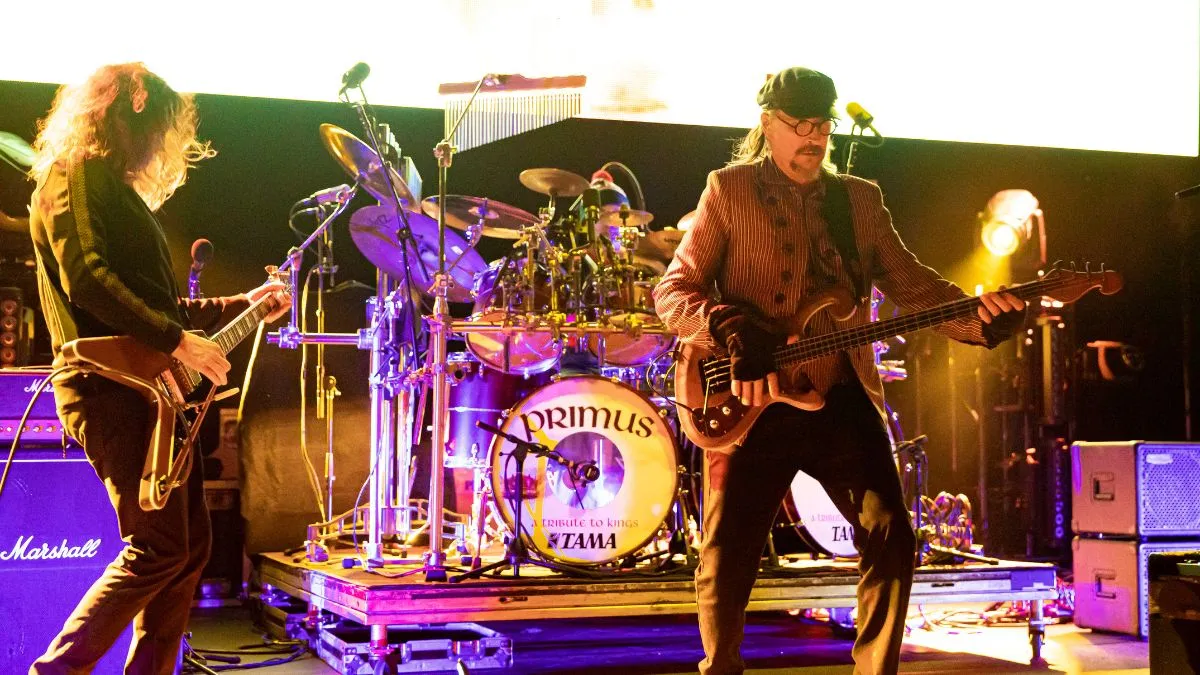
Primus' Les Claypool and Ler LaLonde were just forced to play a gig with brand new gear from Guitar Center By Janelle Borg published 2 May 24 The instruments the band purchased and played onstage are now set to be auctioned off, with all proceeds going to St. Judes Children’s Hospital
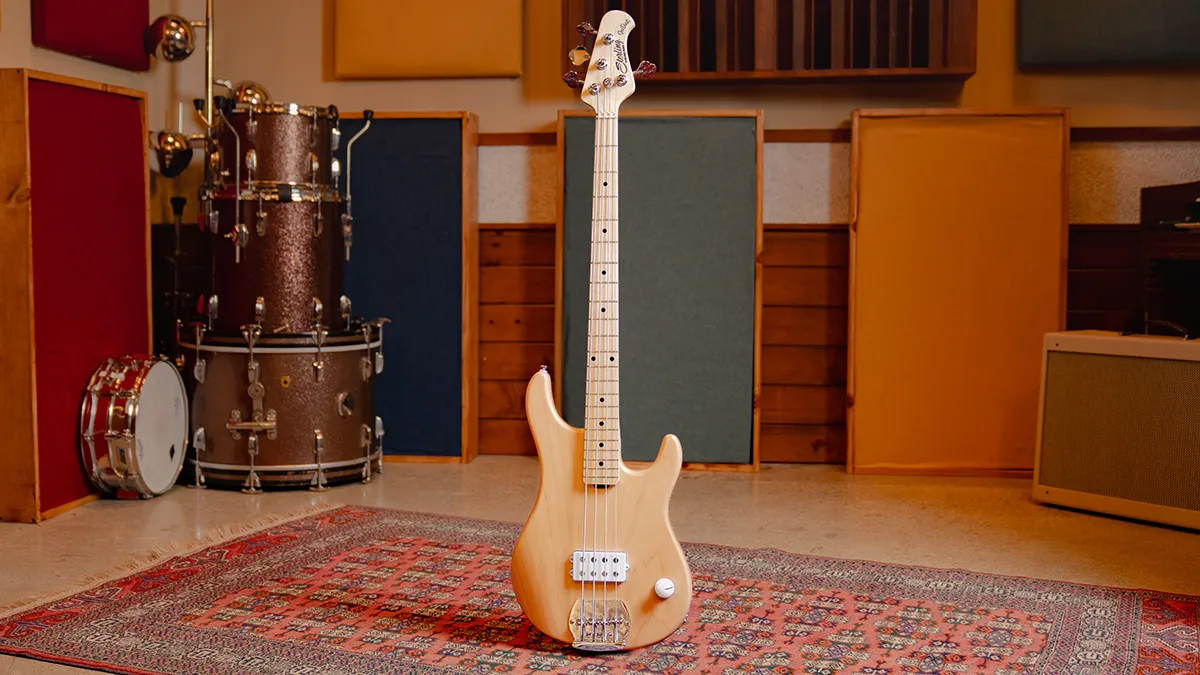
Sterling by Music Man’s first Joe Dart model is made-to-order and costs less than $400 By Matt Owen published 2 May 24 The Vulfpeck maestro's latest signature bass is another no-nonsense, minimalist workhorse – but it will only be available to order for a month
Best bass amps for practice 2024: top combos for working on your chops at home By Chris Schwarten last updated 2 May 24 Get the most out of your playing at home with one of these great bass practice amps
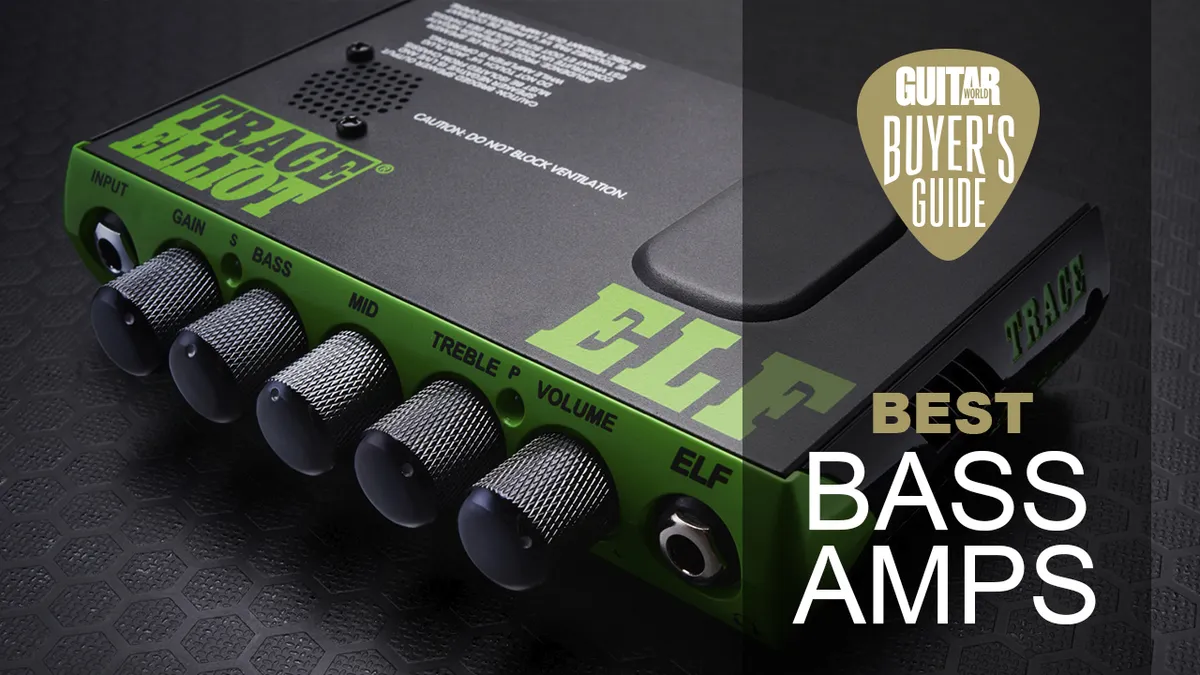
Best bass amps 2024: killer low-end amplification options for bassists By Jonathan Horsley last updated 30 April 24 Give yourself the gift of thunder with the best bass guitar amps money can buy – featuring Trace Elliot, Hartke, Ampeg and more


![Tower of Power [L-R: Greg Adams (trumpet), Mic Gillette (trumpet), Stephen Kupka/Doc/The Doctor (sax), Emilio Castillo (sax), David Bartlett (drums), Lenny Picket (sax), Francis Prestia/Rocco (bass), Lenny Williams (vocals), Bruce Conte (guitar), Chester Thompson (keyboards)] performs on Soul Train episode 126, aired 2/1/1975](https://cdn.mos.cms.futurecdn.net/NnjoDxnJtQojDr6A7hH4XJ-1200-80.jpg.webp)