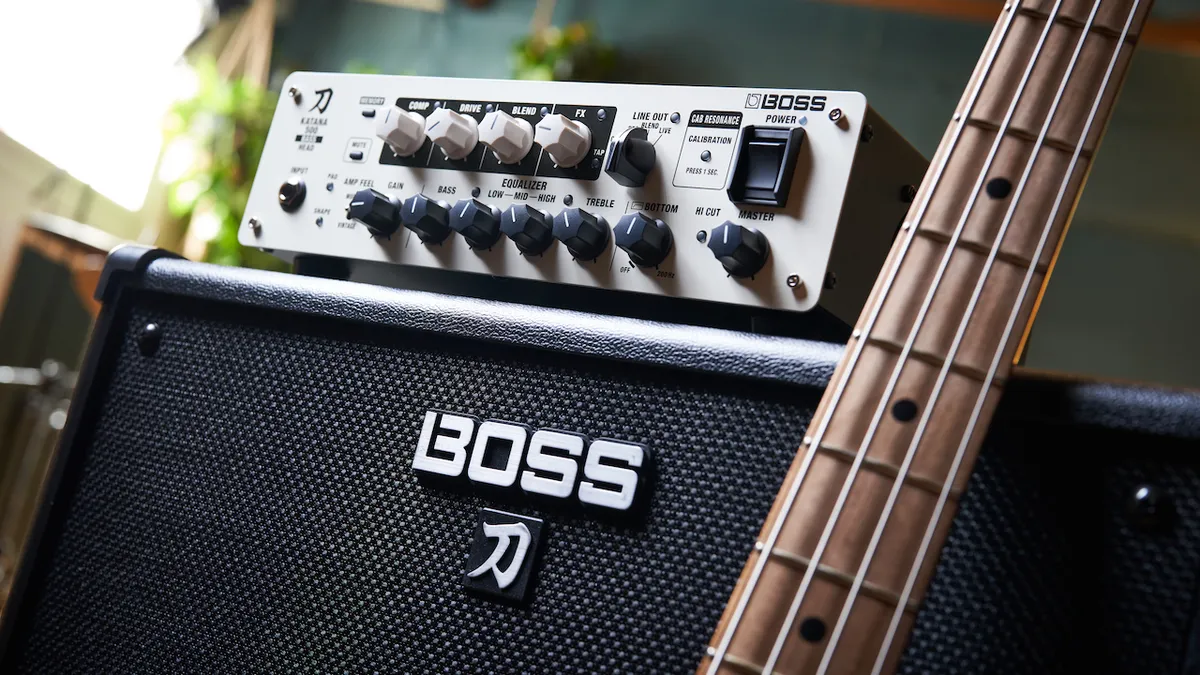
“You’d be hard-pushed to find a bass sound that you couldn’t gig with almost immediately”: Boss Katana-500 Bass Head review
This newly developed, feature-packed bass head features an Amp Feel switch and ‘Cabinet Resonance’ calibration technology to get the best from your cab – but is it a game-changer for bassists?
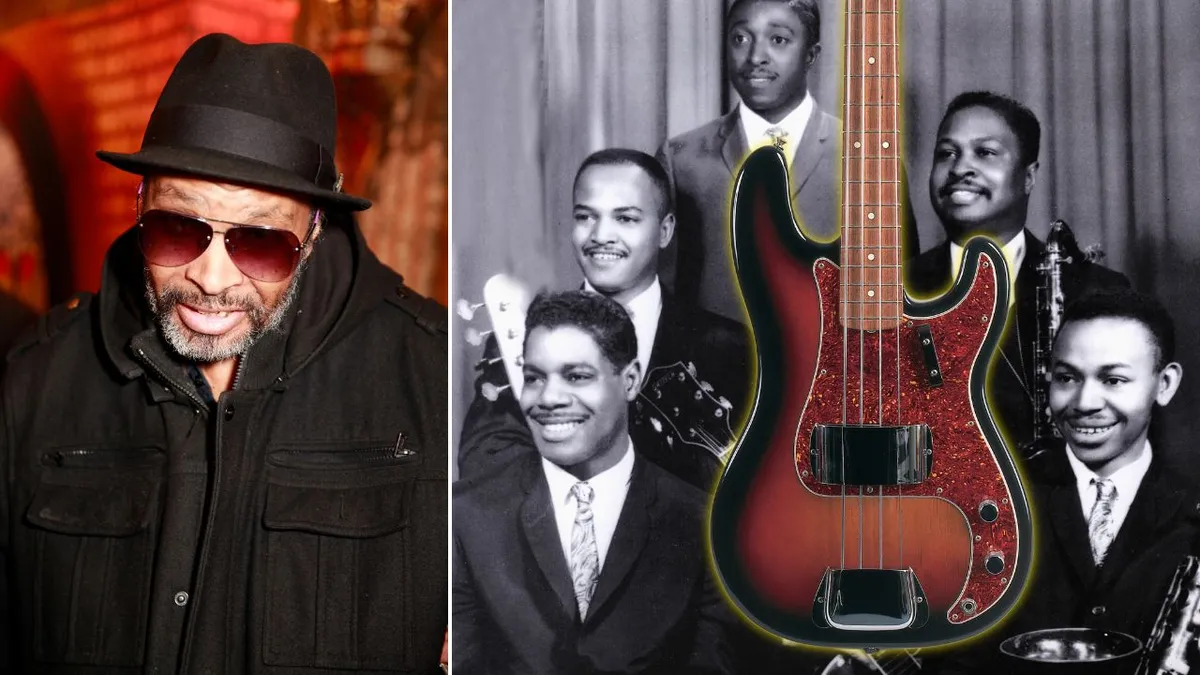
![Tower of Power [L-R: Greg Adams (trumpet), Mic Gillette (trumpet), Stephen Kupka/Doc/The Doctor (sax), Emilio Castillo (sax), David Bartlett (drums), Lenny Picket (sax), Francis Prestia/Rocco (bass), Lenny Williams (vocals), Bruce Conte (guitar), Chester Thompson (keyboards)] performs on Soul Train episode 126, aired 2/1/1975](https://cdn.mos.cms.futurecdn.net/NnjoDxnJtQojDr6A7hH4XJ-1200-80.jpg.webp)