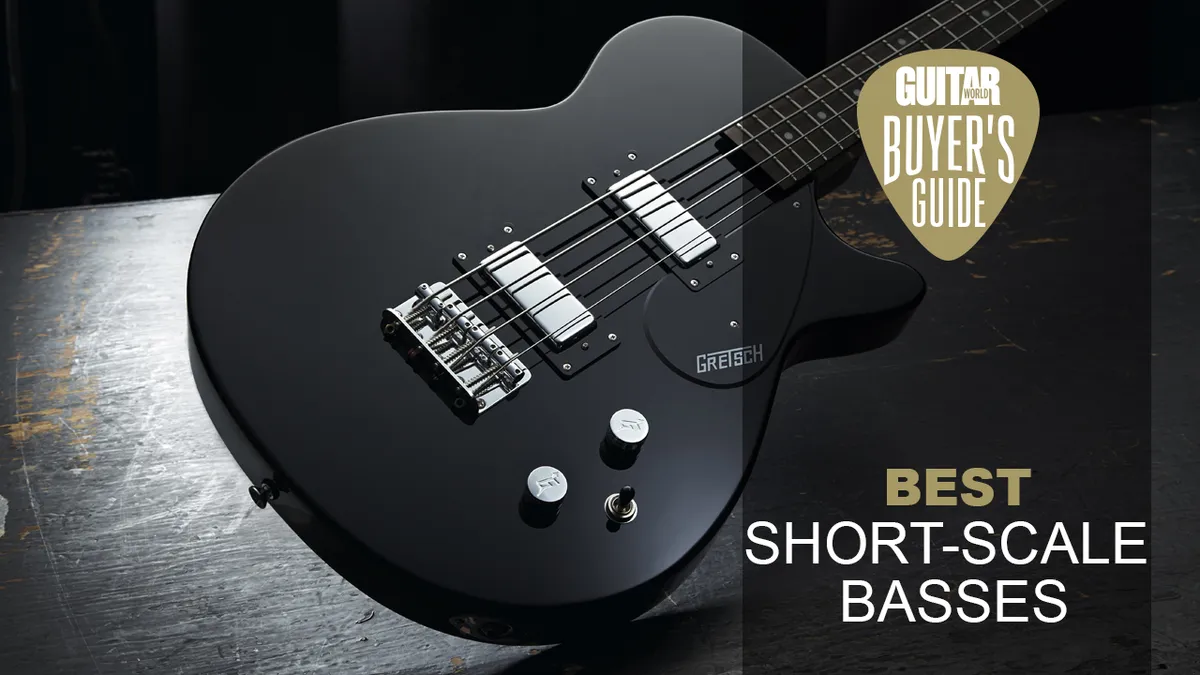
Best short-scale basses 2024: the ultimate guide to the greatest pint-sized bass guitars at all price points By Daryl Robertson last updated 25 April 24 From Fender to Gibson, Gretsch to Spector, here are our top picks for the best short-scale basses on the market right now
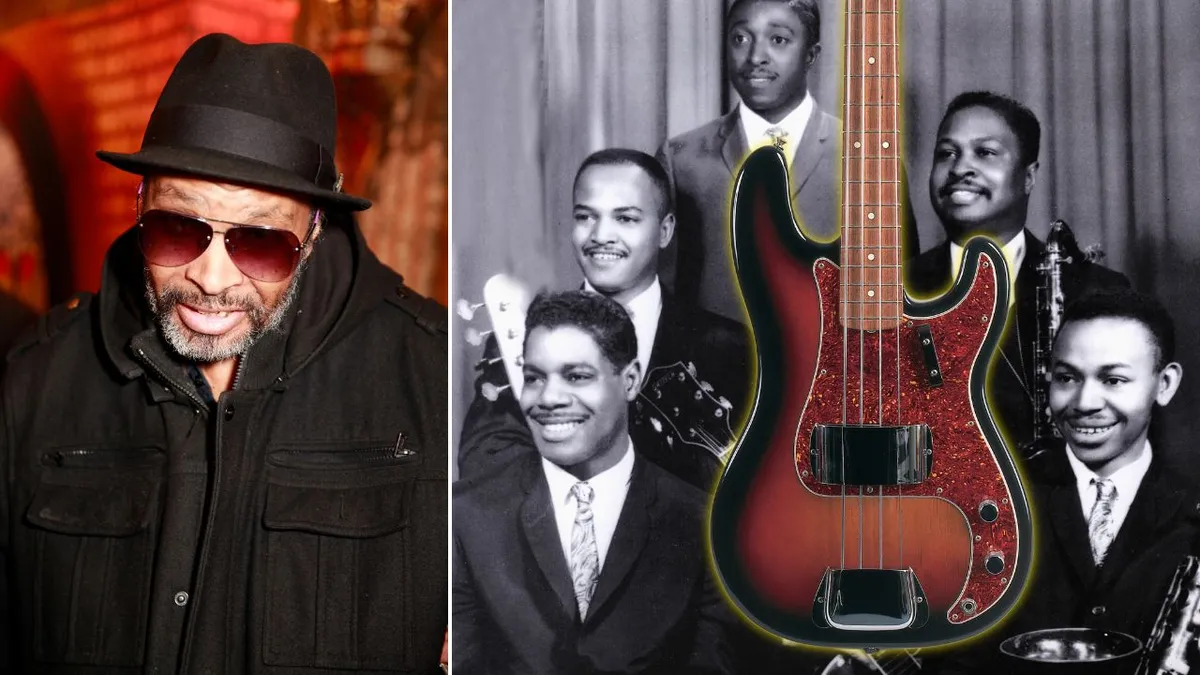
Inside the sound and style of Motown master James Jamerson By Chris Jisi published 25 April 24 Five top low-enders with links to the bass great dissect the James Jamerson style
Why Squarepusher (aka Tom Jenkinson) is an artist in a vast left-field league of his own By Brian Fox published 25 April 24 You may or may not know Squarepusher (aka Tom Jenkinson), but chances are he doesn’t care to know you
Green Day’s Billie Joe Armstrong and Mike Dirnt play Van Halen hits with ex-VH bassist Michael Anthony By Janelle Borg published 24 April 24 Billie Joe Armstrong and Mike Dirnt’s side-project, The Coverups, also covered Kiss, Nirvana, and David Bowie this past weekend
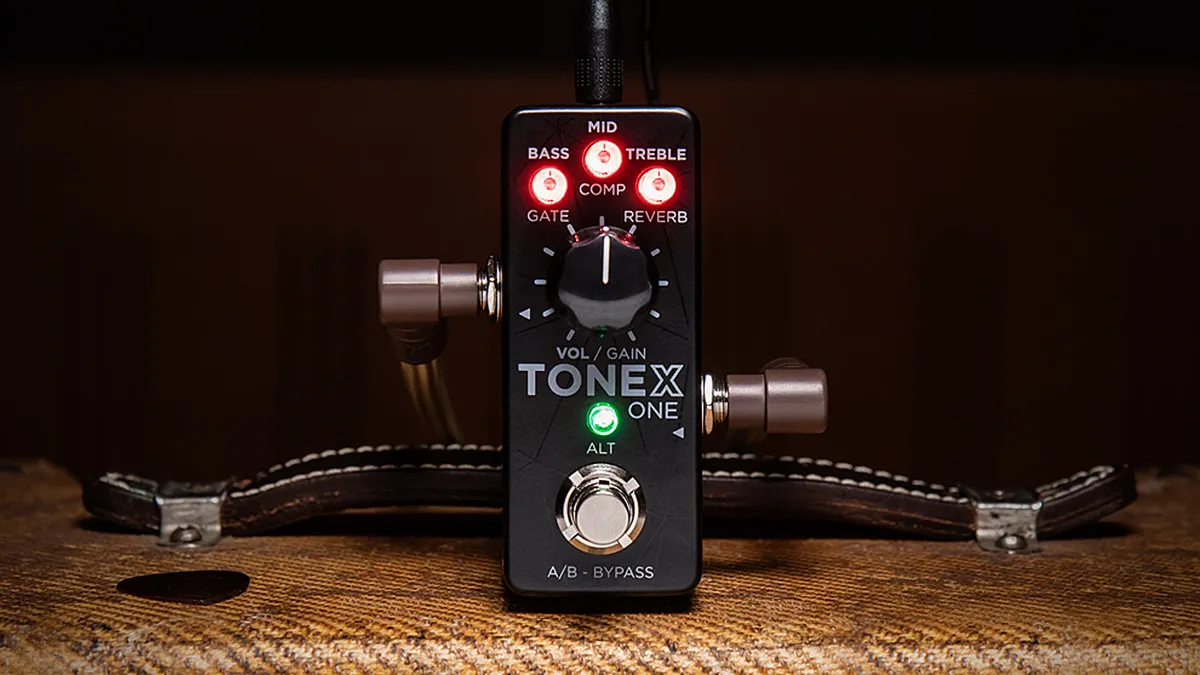
IK Multimedia’s new TONEX pedal puts the firm’s modeling powers into a tiny format By Matt Owen published 24 April 24 The tiny unit works alongside IK Multimedia's AI Machine Modeling tech to offer “the world's most sought-after tones”
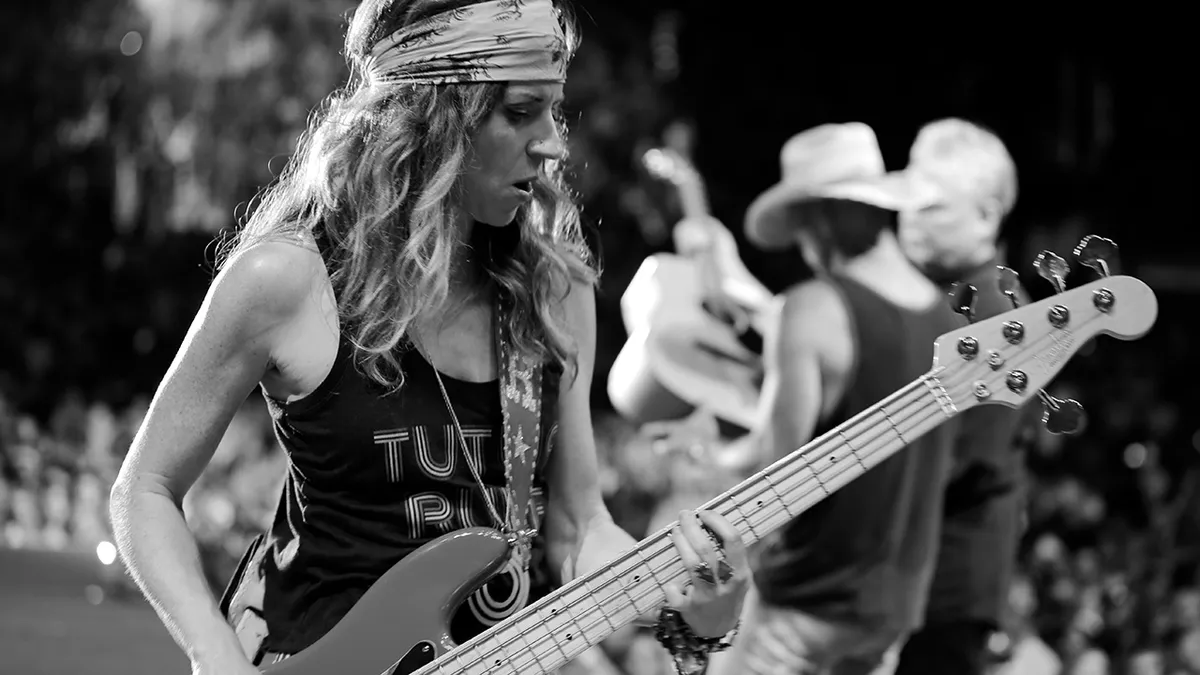
Harmoni Kelley on why five-strings rule for modern country players By Alison Richter published 23 April 24 With no experience of the extra string until her successful audition with Chesney, Kelley’s taken her P Bass attitude and hard rock roots for longterm stroll down Music Row
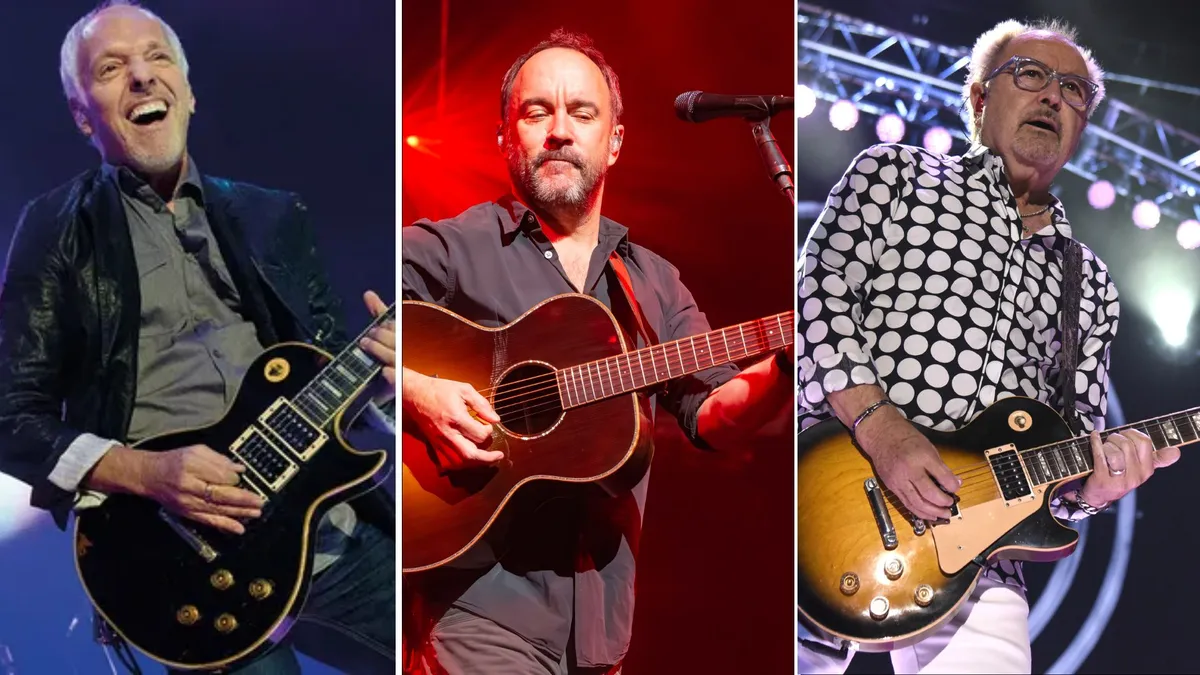
Peter Frampton has been inducted into the Rock and Roll Hall of Fame By Phil Weller published 22 April 24 The iconic guitarist will be inducted into the Rock and Roll Hall of Fame alongside the MC5, Dave Matthews Band, Cher, Foreigner, Mary J. Blige and more in October
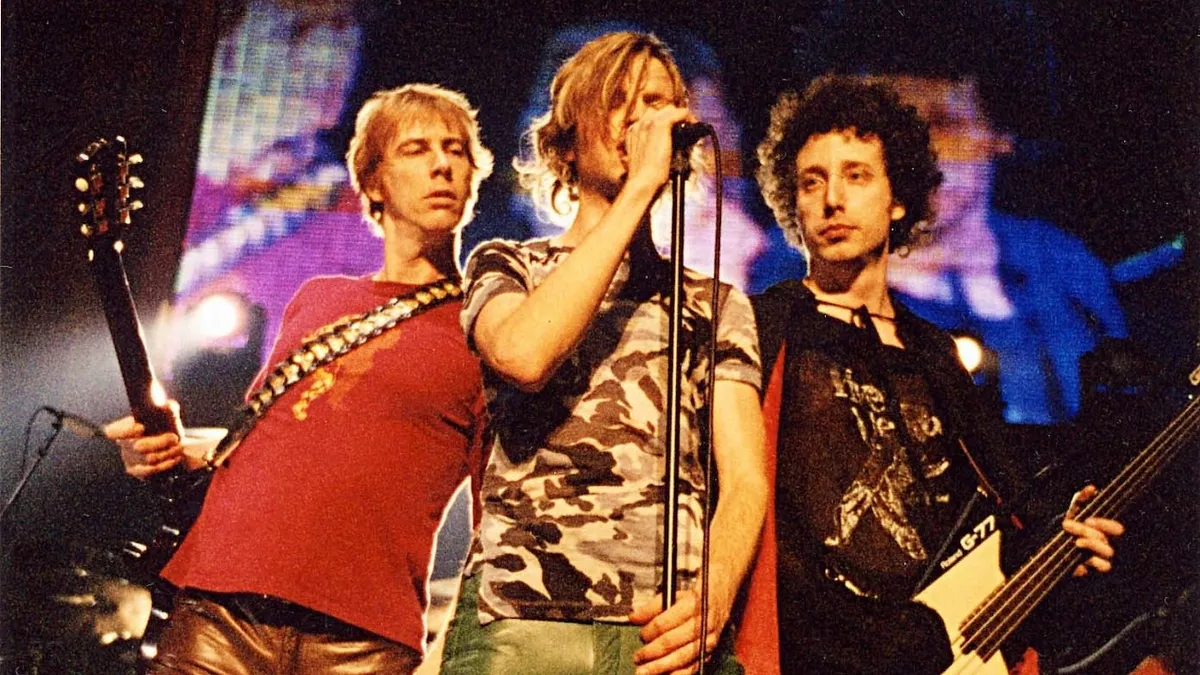
“Beck wanted the bass coming unhinged at every turn”: Justin Meldal-Johnsen's bassline on Beck’s Sexx Laws By Bryan Beller published 22 April 24 How Justin Meldal-Johnsen anchored Beck’s postmodern pop classic by breaking all of the rules
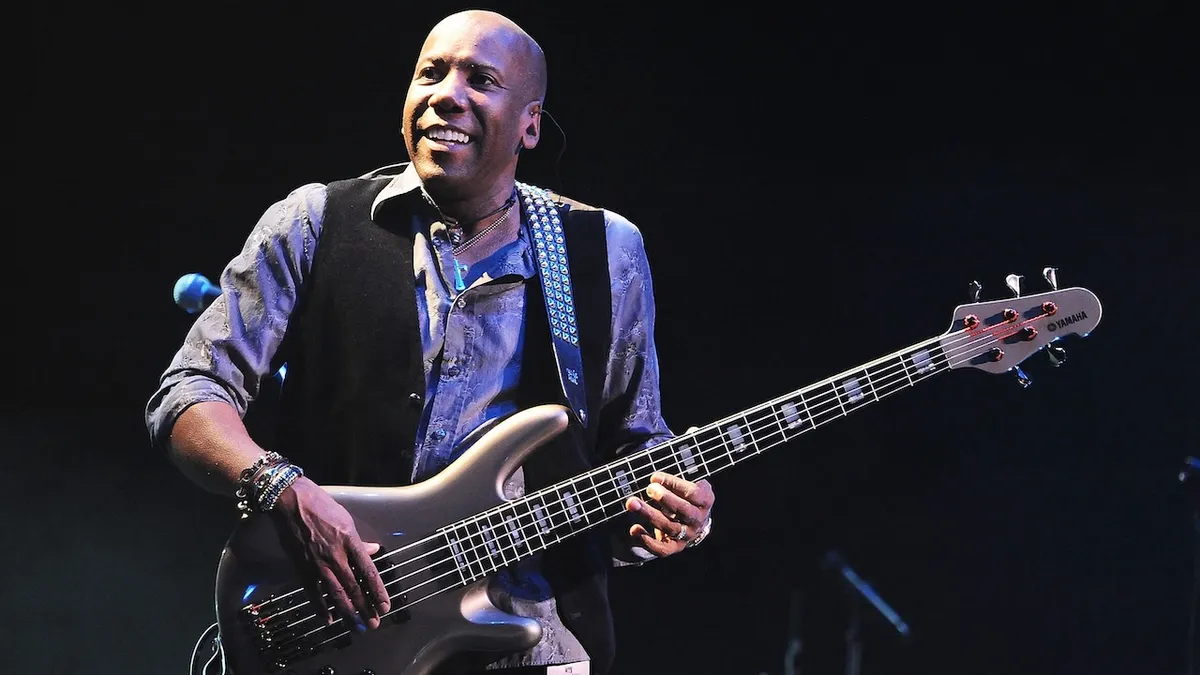
Session legend Nathan East reflects on the business of bass By Nick Wells published 21 April 24 Nathan East looks back at some of his biggest tracks, and why he’d love to have a career like Pat Metheny or Marcus Miller
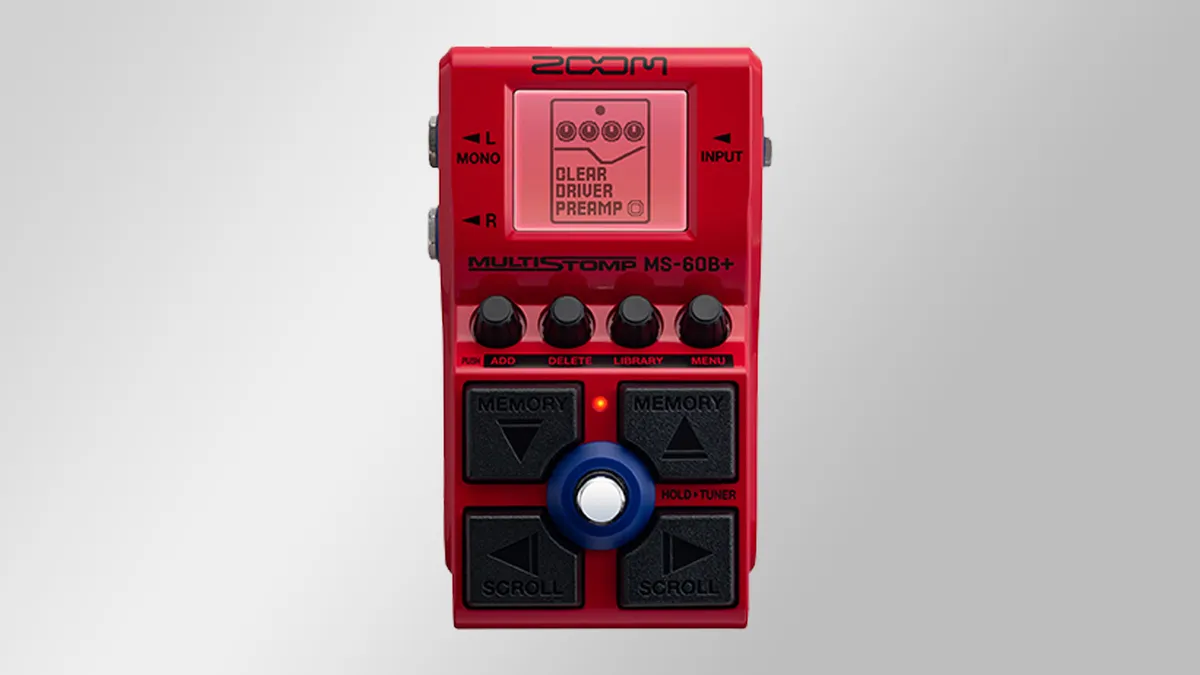
Zoom looks to provide bassists with the most affordable all-in-one rig on the market with the upgraded $142 MS-60B By Phil Weller published 19 April 24 Featuring 11 preamps, 11 amp and cab combos, 75 effects, and signal-splitting options, the tiny pedal packs a lot into its humble chassis
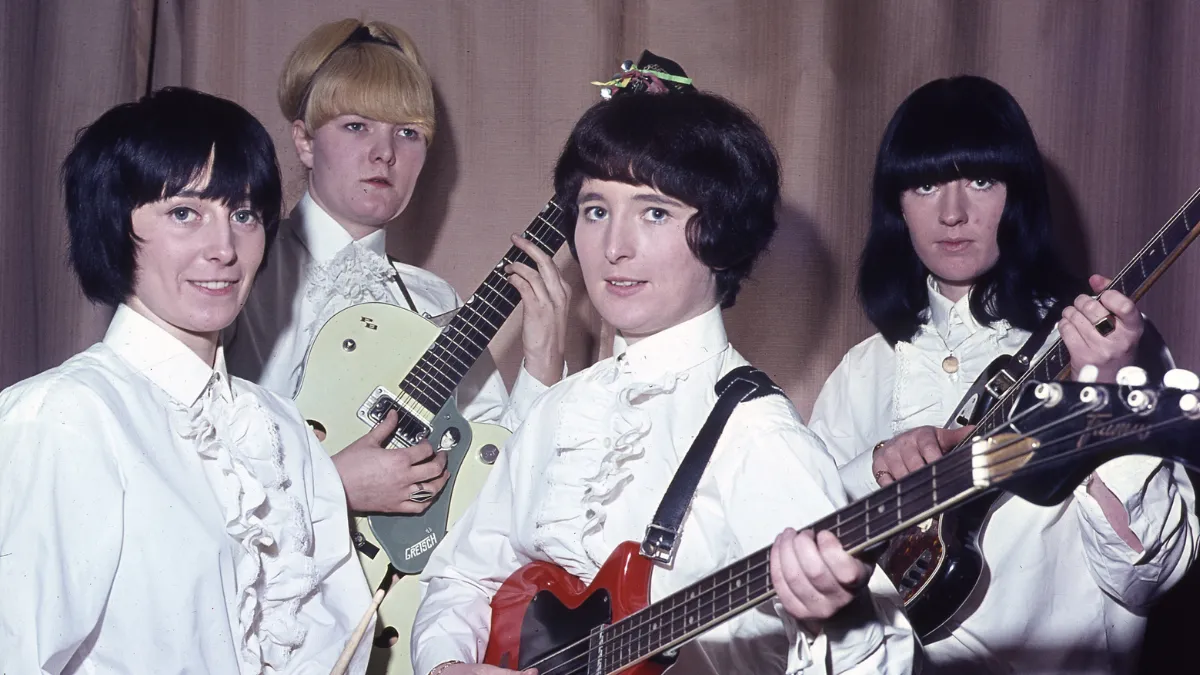
“John Lennon said, ‘Girls don't play guitars’”: The Liverbirds on meeting The Beatles By Janelle Borg published 19 April 24 The trailblazing Liverpool group later wondered if Lennon’s jibes were intended to push them to make a success of the band
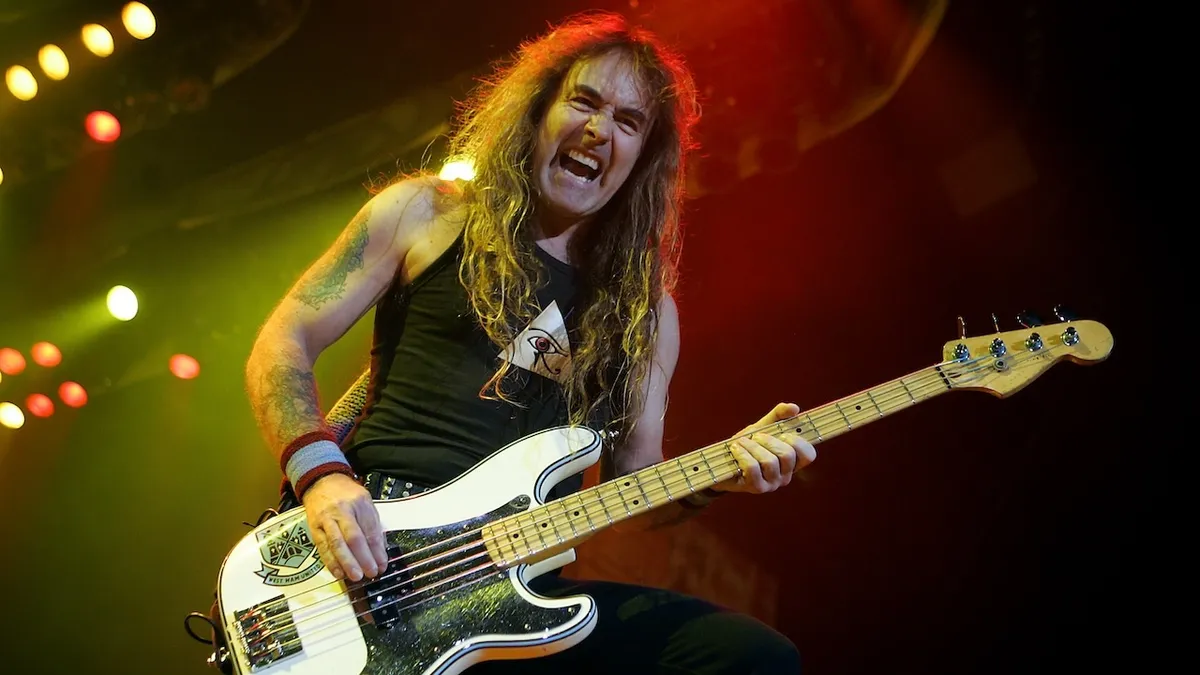
“I grow the nails on my right hand as long as I can”: Steve Harris on Iron Maiden’s Wrathchild By Nick Wells published 19 April 24 Every would-be metalhead should learn from the best: Iron Maiden bassist Steve Harris
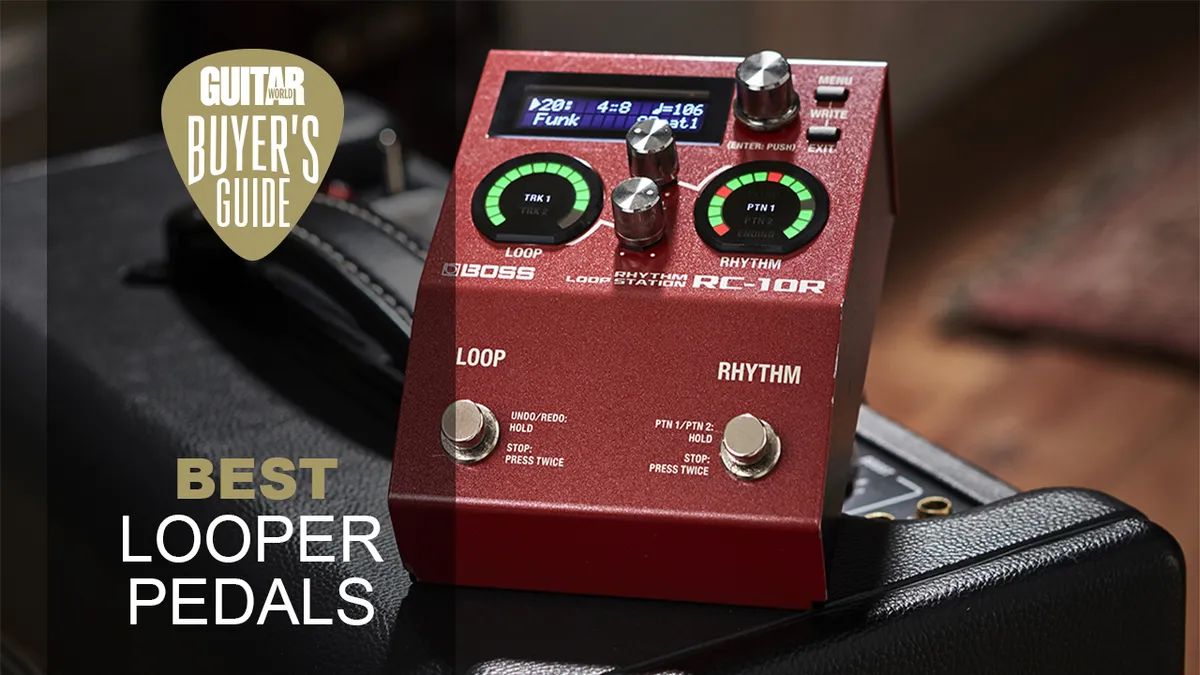
Best looper pedals 2024: go it alone with the greatest loop pedals for practice, live performance and jamming By Alex Lynham last updated 19 April 24 Whether you're writing songs or woodshedding solos, using a loop pedal will make you a better guitarist – these are the best looper pedals from Boss, TC Electronic, Line 6 and more
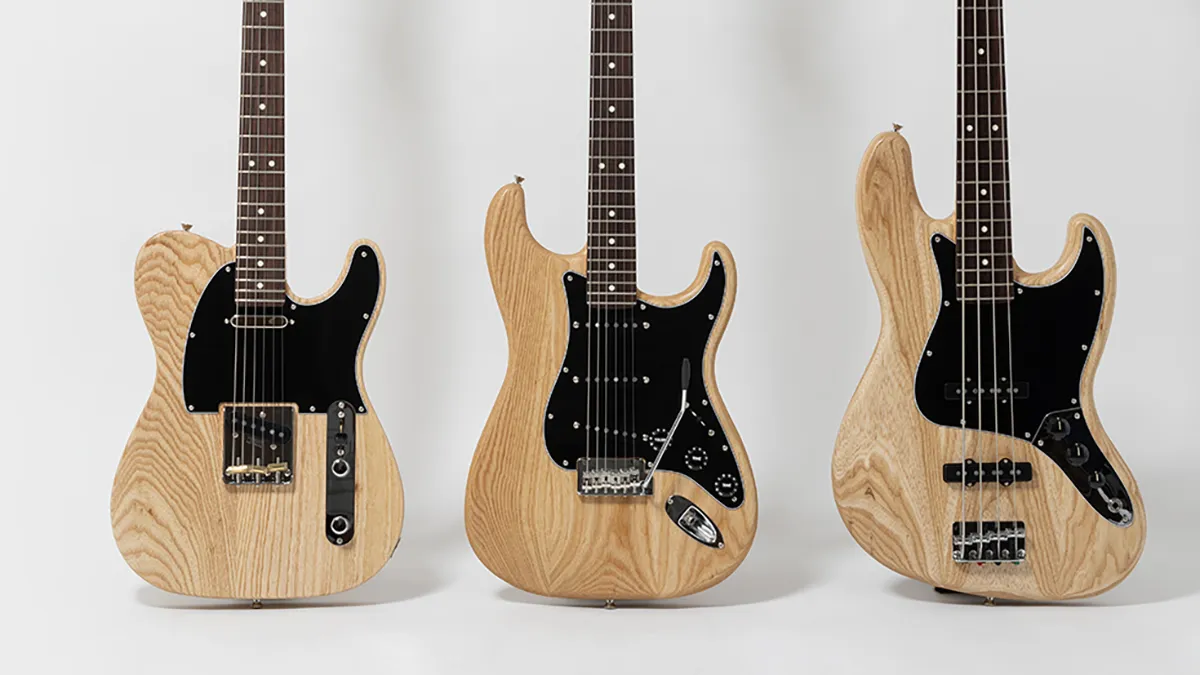
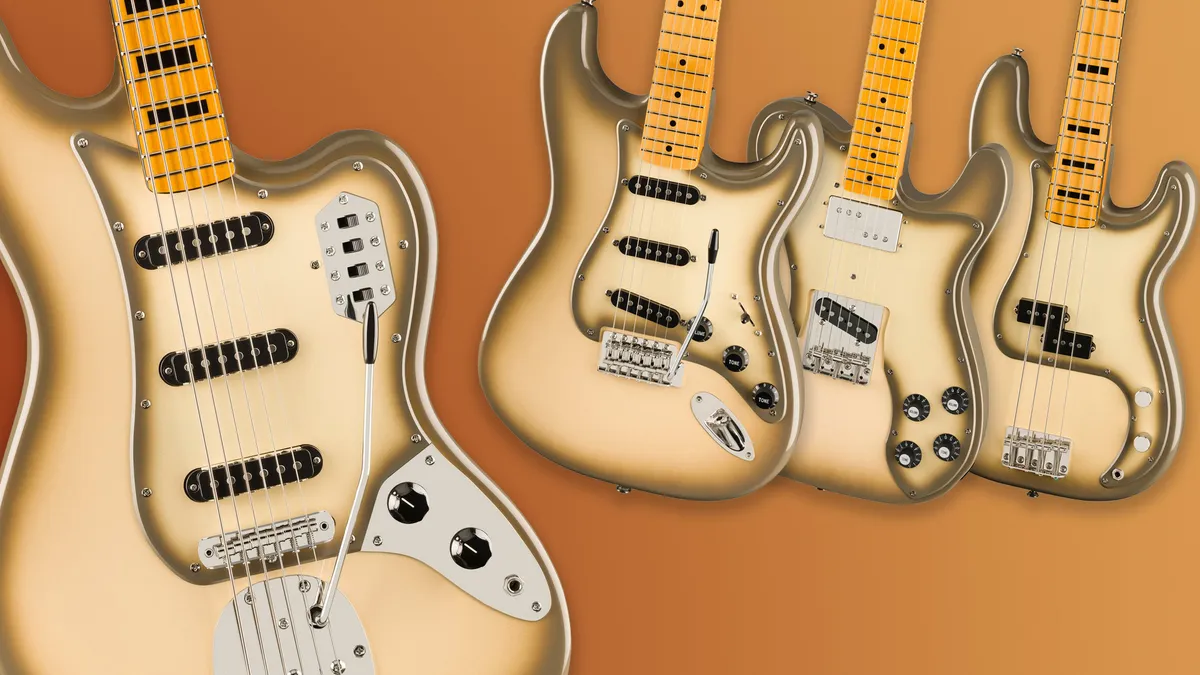
Fender Japan uses a quirky finishing technique for new Sandblast Hybrid II range By Matt Owen published 18 April 24 Limited-edition Stratocaster, Telecaster and Jazz Bass models have been unveiled, each of which are treated to a nifty sandblast finish
Boss brings updated AIRD tech to its retro-styled ME-90B By Matt Owen published 18 April 24 Following the overhauled ME-90, the upgraded all-in-one bass pedal uses the same tech found in the GT-1000 but in a $399 package
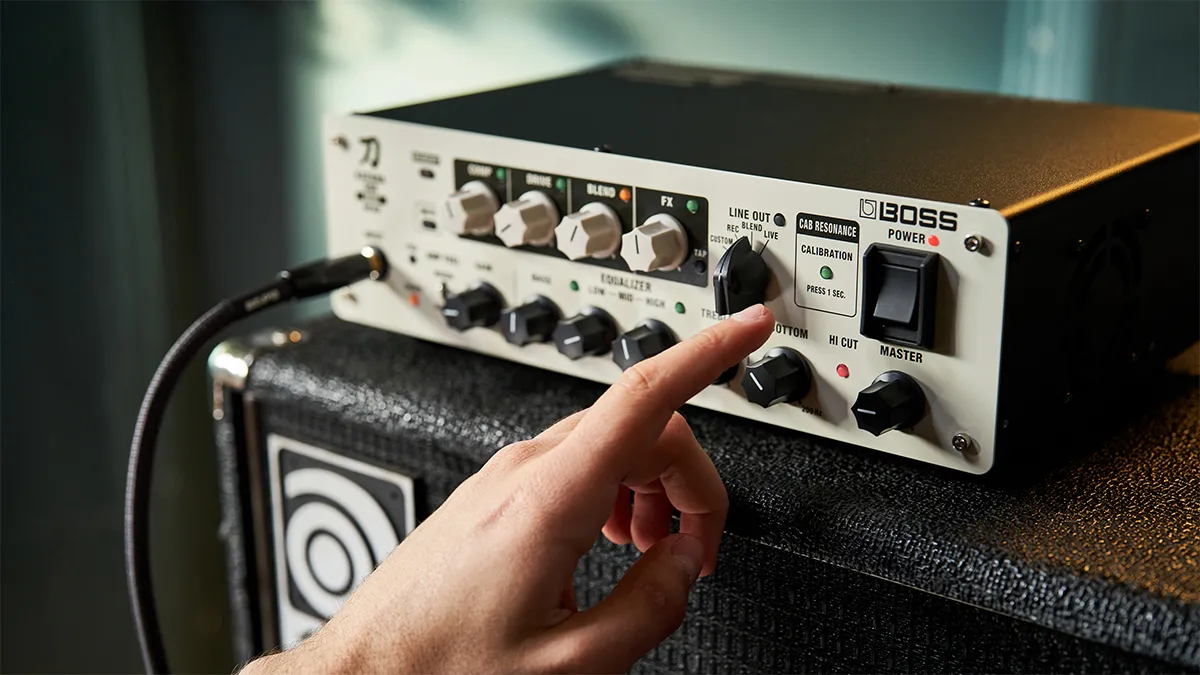
Boss has unveiled its first-ever Katana bass head – and it might be a game-changer By Matt Owen published 18 April 24 The firm's flagship Katana bass head is its most advanced bass amp to date, debuting Cabinet Resonance calibration for optimum tone with any cab
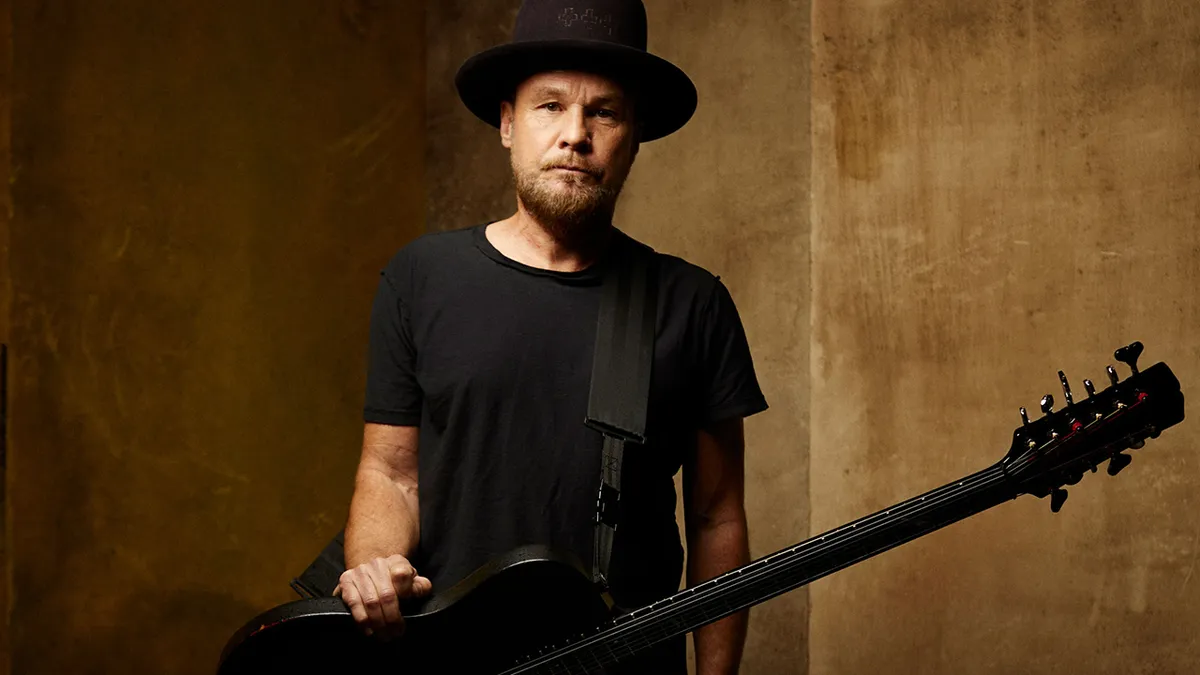
Pearl Jam’s Jeff Ament names 11 bassists who shaped his sound By Gregory Adams published 18 April 24 From Dee Dee Ramone to Eric Avery, fretless to 12-string bassists, Jeff Ament believes all his influences can all be heard on the latest Pearl Jam album Dark Matter
James Hetfield has had Lemmy's ashes tattooed onto his middle finger By Phil Weller published 17 April 24 Hetfield says the salute to the late Motörhead legend means “he is still able to fly the bird at the world” even after death
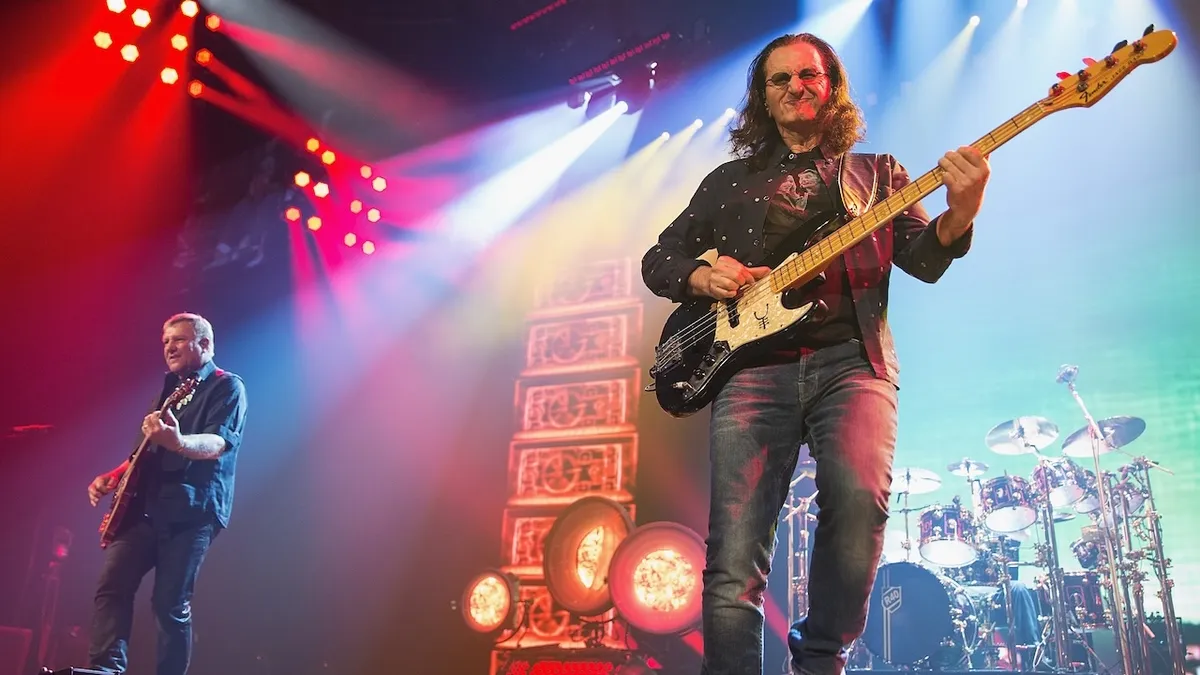
Listen to Geddy Lee’s “flamenco” strumming technique on Rush’s Snakes & Arrows By Nick Wells published 16 April 24 Geddy Lee’s signature sounds abound on Snakes and Arrows, but was there a new twist in his bass playing?
Fender revives divisive Antigua finish for limited-edition Squier ’70s Classic Vibe models By Matt Parker published 16 April 24 The once-derided Antigua Burst is back for a limited run and is now available for preorder in the US